


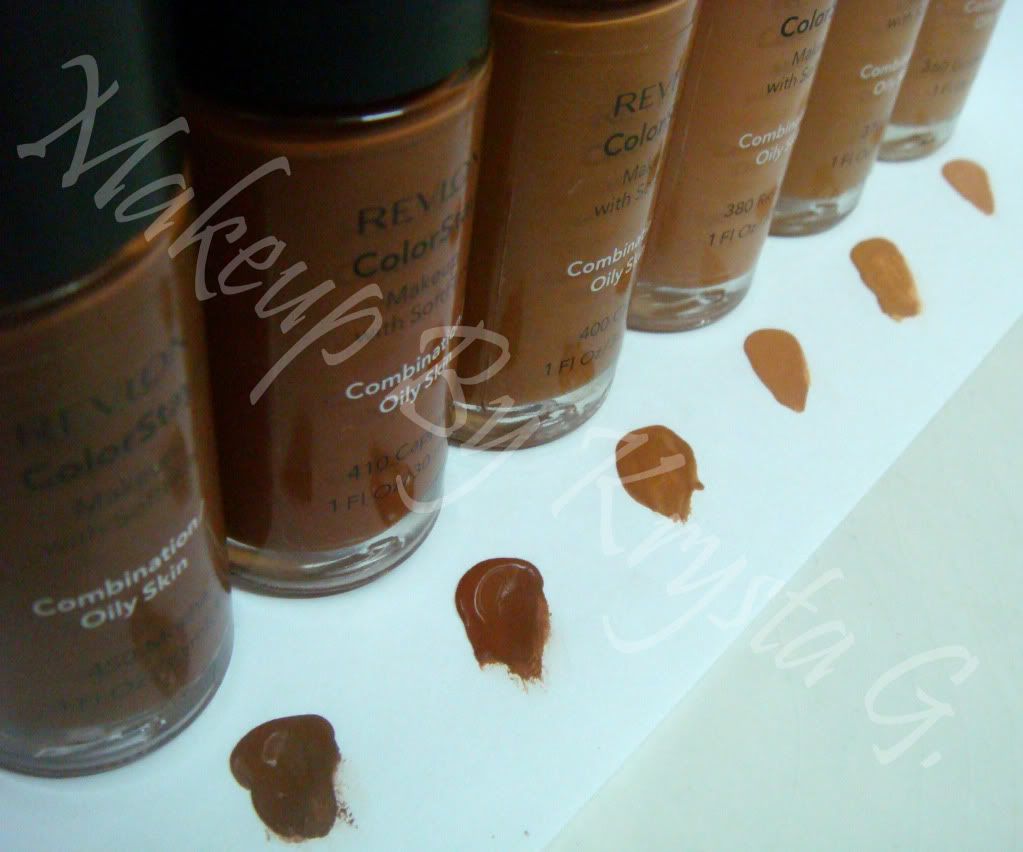
After testing and trying many high end foundations I've found Revlon Colorstay foundation gives me the best results, so this is what I choose to use on my clients. Below I've listed the Pros and Cons off this product:
Pros
- There are many colors to choose from so its easy to find your skin tone, and even if your in between its fairly easy to mix, also many shades come with a yellow undertone.
- Its pretty inexpensive compare to brands like M.A.C. at $62.00 a bottle (at Pennywise, Price may vary since last i checked). Trust me one bottle will last a very long time.
- It stays on all day and well into the night. The Revlon Colorstay foundation claims it lasts up to 16 hours which it does, even up against Trinidad's climate.
- It comes in two formulas, combination/oily and dry, so it doesn't dry out dry skin or increase shine on oily skin.
- Very easy to apply (Application Tips Below)
- Works great even without a face primer (although I still recommend using one). But you don't have to put out the money to get one if you don't want to.
- Gives Medium to Full coverage. Its very easy to layer without getting cakey.
- Does not clog pores or feel heavy.
Cons
- The bottle does not have a pump and so it is very difficult to get the amount you need out. What I like to do is turn the bottle completely over and press it against the palm of my hand and then slightly lift one end of the rim off my palm letting air into the bottle, this allows for a little of the product to pour into my palm. I use this controlled method to get the amount i need out. If you are unsure of how much product you need. You can just take little amounts at a time.
- After about 6-7 hours of wear you do then to get a little shiny, for those with oily skin, this can simply be fixed by using some powder. Oil absorbing wipes can be used but don't rub or press too much, because this removes some foundation.
Application
Step 1: Take the amount of product needed in your hand.
Step 2: Using three of your fingers take product and start dabbing onto face. Making small strokes with your fingers. Start with your 'T' zone and work your way around your face and onto your neck.
Step 3: Using the same fingers, begin tapping with light, quick motions working the product in while dispersing it around your face. (A stippling brush can be used although the results with not differ greatly) Keep tapping until face looks even. Product my still be wet thats ok.
Step 4: If you desire more coverage you many use more product, repeating step 3 into the desired areas.
Step 5: Take palm of which product was poured in, using the excess tap your face lightly with palm working it down to your neck making sure the product is well blended.
Step 6: Finish off with a mattifying powder. Use the same light tapping movement along with light swirls to apply powder.
Hope This Was Helpful
XOXO
Krysta G.


